
My Favorite Things Paper Bag Book ~ Free Printables
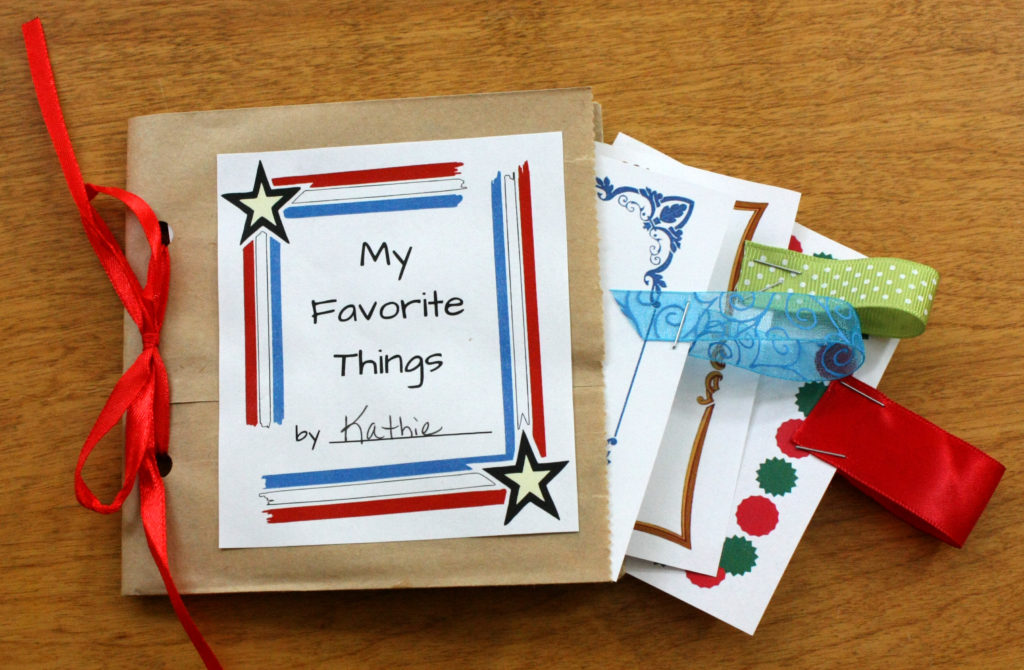
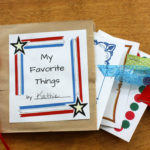
 This is a little project that I made for the girls in our American Heritage Girls Tenderheart Unit, who are in first through third grade. I plan on providing stickers for embellishments, but no glitter! (We’ve learned by experience…..) If you are crafting at home, feel free to add all the glitter you like!
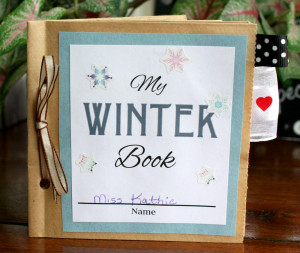
One thing I forgot to add to the sample pictured is a mat behind the title page – I think it makes it look a lot better – like My Winter Book. If you like making paper bag books, you may also like my Thanksgiving Book and The Mitten Book (inspired by Jan Brett’s book of the same name).
Disclosure: I was not compensated for this post. I am an affiliate of Amazon, and will receive a small commission if a link on this page is used to make a purchase.
My Favorite Things Paper Bag Book Instructions
You Will Need:
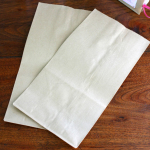
- Lunch-sized paper bags (2 or 3 per book)
- Construction Paper (for matting title page – optional)
- Hole punch
- Yarn, narrow ribbon, or string
- Wider ribbon scraps
- Computer printer (black and white)
- Printer paper (white or colored)
- Crayons, colored pencils, or markers
- Glue stick
- Stapler
- Stickers, Glitter, and other embellishments (optional)
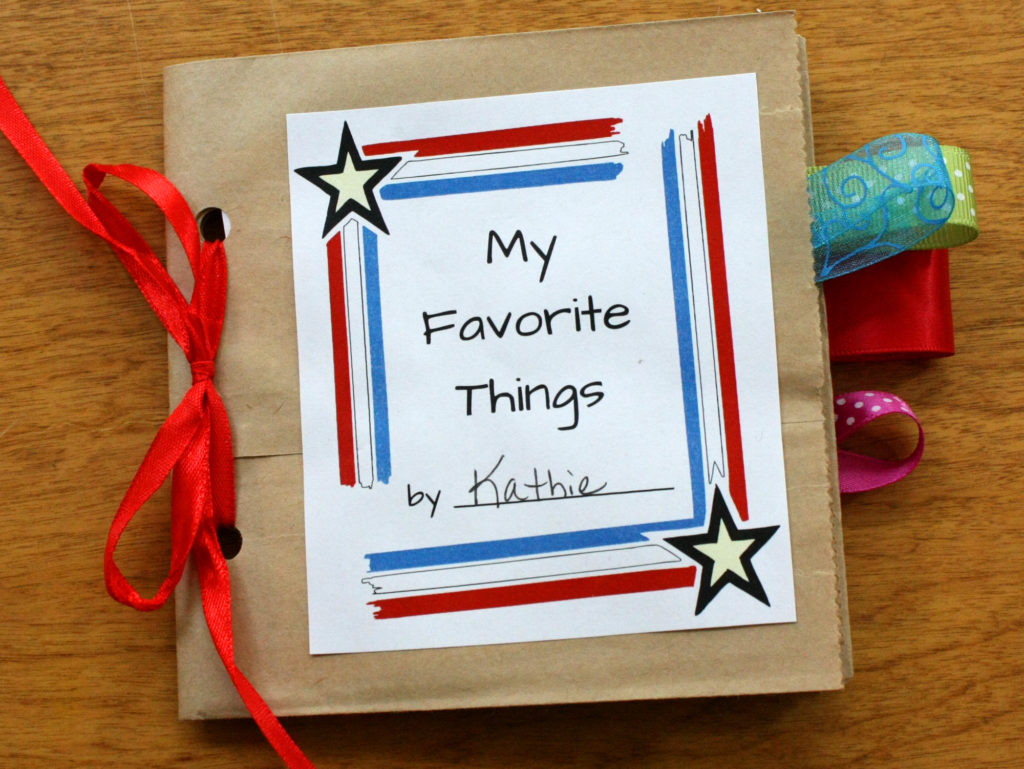
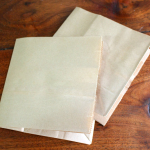
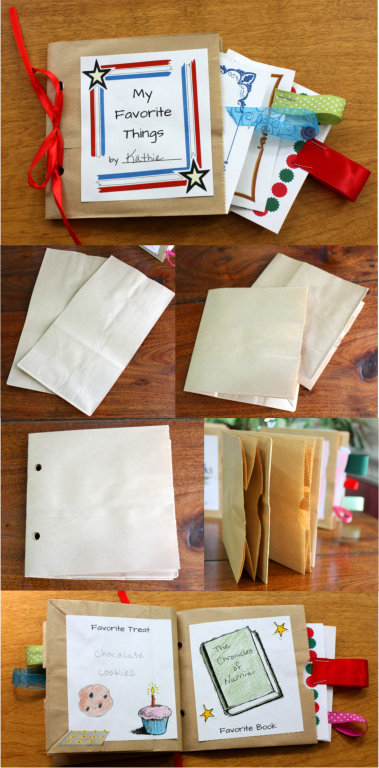
1. Fold paper bags in half and insert one folded bag into the fold of the other.
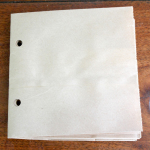
2. Punch 2 holes along the edges of the bags – make sure the holes line up and book edges are even.
3. Lace yarn, narrow ribbon, or string through the holes and tie a bow in the front.
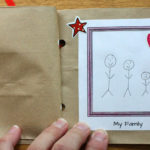
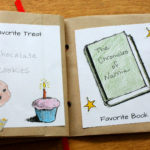
4. Color the cover page and the inside pages you like, cut out, and glue in book.
5. Add stickers, glitter, and other embellishments if you like.
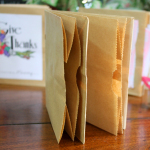
6. Staple loop made of wide ribbon on right edge of additional colored pages, and insert in pockets of book.
If you are teaching Preschoolers or Kindergartners, or just have limited time, I recommend using 2 lunch bags for a four-page book (to stay within their attention spans). They can use the front and back of each page plus the pockets, so the kids will have plenty of space for their coloring pages. You may want to make longer books with older kids. Allowing kids to cut out their own little pages is great scissor-practice, but to save time, you can cut out the little printable pages ahead of time.
Scroll down for free printable PDF instructions and coloring pages!

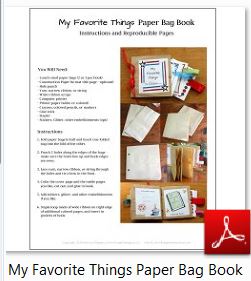
Free Printable Instructions and Pages
Click on the thumbnail below and open the PDF file in Adobe Reader to read and print. If you open in a browser window, the text may be garbled. You may share this online and use the image above without permission, but please have all links point to this blog post, not to the PDF file. Thanks!
Please comment below with your questions and suggestions – I will respond as soon as I can! Thank you for visiting Cotton Ridge Homeschool!
Disclosure: I was not compensated for this post. I am an affiliate of Amazon, and will receive a small commission if a link on this page is used to make a purchase.
Copyright 2018 Kathryn Depew
Disclosure: I was not compensated for this post. I am an affiliate of Amazon, and will receive a small commission if a link on this page is used to make a purchase.
Leave a Reply