Hands-On Pottery Lesson Plan For Kids: Introduction
 Handbuilding With Clay For Kids
Introduction
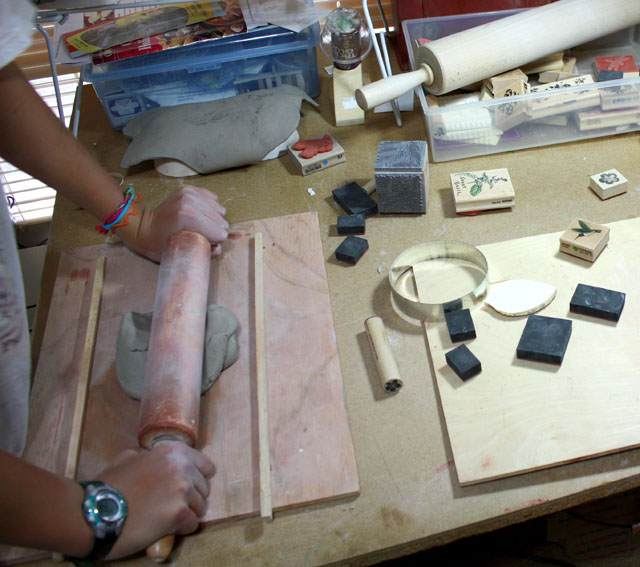
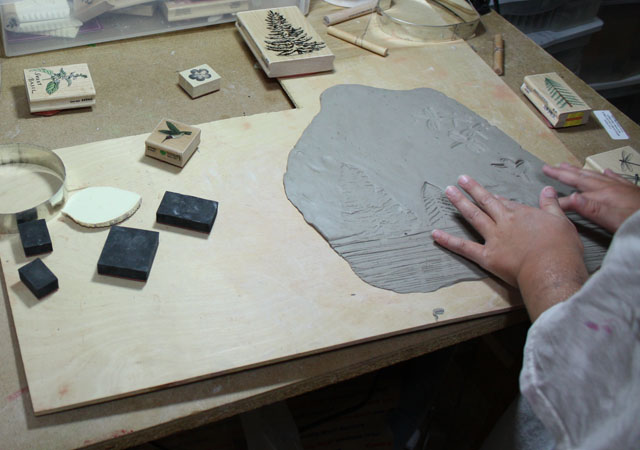
I’ve found that kids love handling clay, whether they are rolling it out, pressing in a stamp, or creating a sculpture. The possibilities for creating with clay are almost endless, limited only by the imagination. Covering all the options is beyond the scope of this article, but I will offer several recommendations and suggestions.
If you do not have experience with stoneware clay, firing, and/or glazing I highly recommend that you use a non-toxic air-dry clay. Also, children younger than six should probably use the non-toxic air-dry clay, but use your own judgment. If you opt to use air-dry clay, consider calling a local pottery studio or paint-your-own-pottery shop for a short tour and talk about the ceramic process and kiln-firing. You may want to allow the kids to observe a wheel-throwing or hand-building demonstration and/or glaze their own bisque piece at the paint-your-own-pottery shop for the experience.
I usually teach just one or two children at a time, but recently taught a group of ten kids aged five to twelve. They were VERY well-behaved children, and three of the Moms helped. I’d recommend no more than six at a time, though, if you want to have enough one-on-one time.
About This Lesson Plan
This Lesson Plan has four parts – please follow the links below for each lesson.
1. Beginning Handbuilding
2. Beginning Brush-On Glazing
3. Overview of the Ceramic Process
4. Life Lesson – The Potter’s Hands
Parts 1 and 2 must be done in order, at least 2 weeks apart (to allow for clay drying and firing). If you are using air-dry clay, the lessons can be scheduled closer together. Parts 3 and 4 can be taught at any time.
If you are looking for more handbuilding projects for kids and suggestions for air-dry clay, please see this post: Clay projects for kids: Pinch pots, clay beads and maybe some sculpture?
Thank you for visiting Cotton Ridge Homeschool!
Copyright 2012 Kathryn Depew


Leave a Reply