Pottery Lesson Plan For Kids – Part 2 Beginning Glazing
Please reference the Introduction and Part 1 of this series.
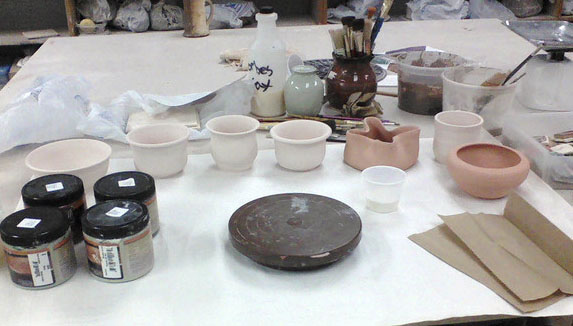
Beginning Brush-On Glazing Lesson
If you are using air-dry clay, use this lesson time for painting the dried clay creations with acrylic paint.
Work Surface
If you are not teaching in a pottery studio with a large wood-topped hand building table, you can use tables covered with old towels or plywood boards.
Time
Allow one to two hours, depending on how many objects each child needs to glaze. Remember that you will need time to clean up.
Recommended Tools and Supplies
Old clothes, large t-shirts, or aprons to protect clothing
Large wooden tables, or old towels or plywood boards on tables (each child needs at least 2-1/2 to 3 feet of space)
Sponges
Cups of Water
Brushes
Glaze (high-fire for high-fire clays, or low-fire for low-fire clays)
Stir sticks for glaze
Old washcloths and towels for cleanup
Samples of glazed items
The Lesson
1. Have the kids wash their hands.
2. Hand out the bisque-fired pottery and have each child wipe the dust off of their pieces with a damp sponge.
3. Go through the following essentials:
- Wash your hands before and after working with glaze.
- Do not eat or drink while glazing. Keep it away from your mouth.
- The dust is not good for you. Try to keep the glaze in your immediate work area and clean up with old damp towels as soon as you are done. Use a wet mop instead of a vacuum cleaner. (If you are outside, spray everything down.)
- Most glazes require two to four coats – reference the manufacturer’s instructions on the glaze container. Be sure not to put it on too thick, especially near the bottom where it can drip down and stick to the kiln shelf.
- Do not any glaze on the bottom of their piece (wipe off if necessary).
- Glaze is not like paint. Do not leave your brush in the jar, and only dip as far as the bristles. Clean off your brush before dipping into another glaze.
- When you are finished, clean your brushes under running water very well.
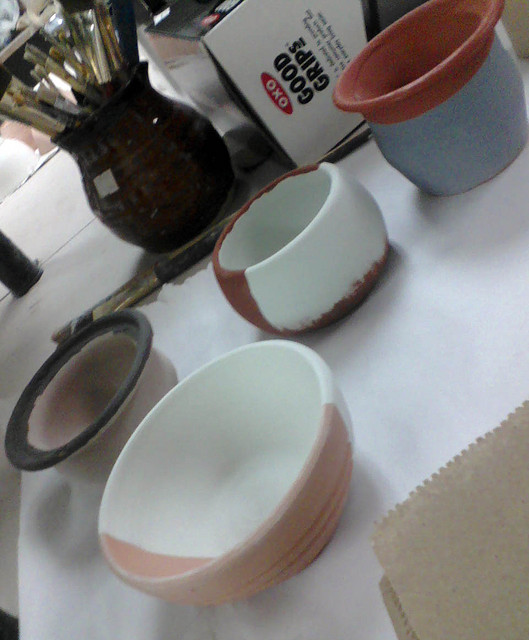
4. Hand out samples of glazed pieces, and allow the kids to pick out the glaze(s) they’d like to use.
5. Demonstrate brushing on the glaze. Below is a great demonstration from YouTube.
Conclusion
Explain that the glazed pieces will be allowed to dry before they are put into the kiln and fired. If possible, allow the kids to watch you load the kiln. Have any comments or suggestion related to kids and pottery? Please share below!
Related articles
Copyright 2012 Kathryn Depew. Images Copyright BLW Photography on flickr. Used under the Creative Commons License.


Leave a Reply